Introduction
Liferay 7.4 introduces Objects, a new feature that simplifies application development. This low-code capability enables developers and non-technical users to quickly create custom data structures and applications, reducing complexity and improving productivity. In this article, we'll discuss what Objects are, why they're important, and how you may use them in your Liferay projects.
Prerequisites
Liferay 7.4+Creating Objects
To create objects follow the below steps:
- Open the Global Menu (
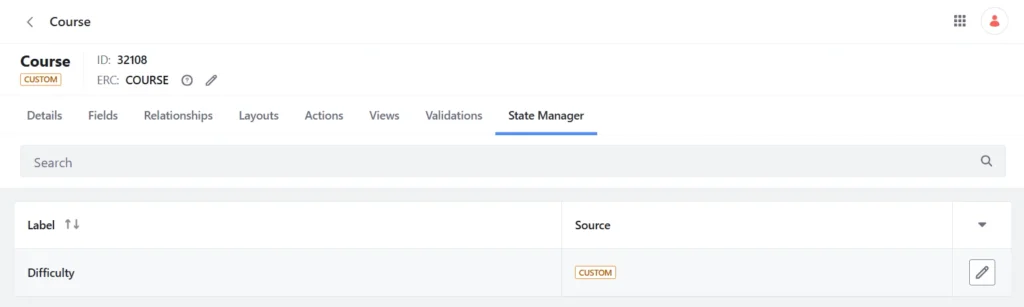
), go to the Control Panel tab, and click on Objects.
- The OBJECT FOLDERS panel appears on the left-hand side. You can organize your objects by creating folders and adding appropriate objects within them. Also, it is best practice to assign an ERC (External Reference Code) to each object and folder so that you can retrieve the same with ERC.
- After selecting an appropriate object folder, press the Add button (
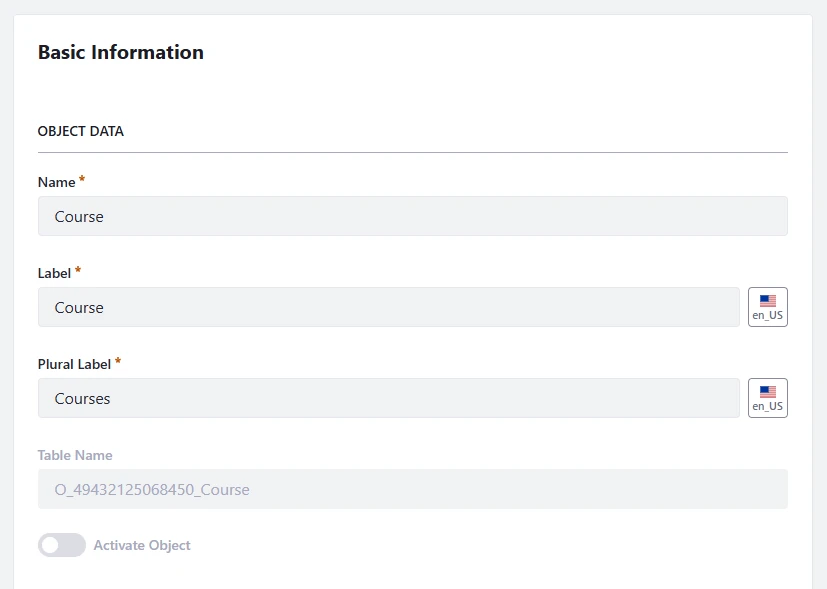
).
- Provide the details below and hit save.
Label: Describes the object in the Liferay admin panel that supports out-of-the-box features (such as Workflow, Collections, Display Page Templates, Information Templates, and Forms).
Plural Label: This name will be used to show the object itself in the user interface.
Object Name: Identifies the name of the object from which Liferay will create a table and cannot be changed after publishing.

After you save the object, it will be in a draft state. The newly created object contains no configurations or data items. Let's look at how the object draft is published:
When you open the object definition, you will see various tabs, such as Details, Fields, Relationships, Layouts, Actions, Views, Validation, and State Manager.

Details:
- Table Name: This will be defined as
O_[companyId]_[objectName]
.

- Entry Title Field: This defines which field is used to identify the object's entries in the UI. The selected field will be shown in the asset title of workflow submissions, object relationships, and display page templates. By default, objects use the ID field.

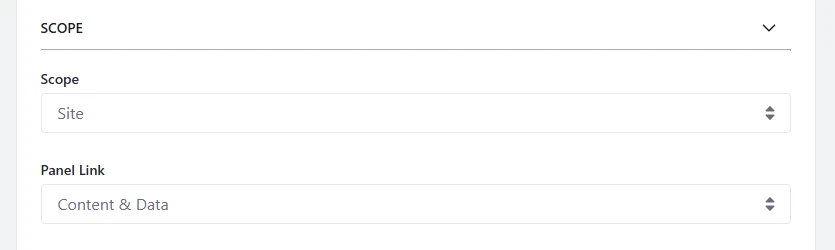
- Scope: This defines how the object's data is saved.
Company (default): When an object is scoped by the Company, the object's data is saved per Liferay instance.
Site: When an object is scoped by Site, the data is saved for each Site.
- Panel Link:
This defines where the definition appears in Liferay's admin panel.
The company-scoped objects appear under Liferay's Global Menu ( ).
The site-scoped objects appear under the Site Menu ( ).
If you don't want the object to be displayed in any Liferay menu, leave this value blank.

- Account Restriction:
Configure account restrictions to restrict access to object entries based on account. You can only configure this setting before publishing.
This option appears only if the object is the child in a one-to-many relationship with the Account system object.
- Show Widget in Page Builder:
When this is checked, the object's widget can be added and configured to site pages.
- Enable Categorization of Object entries:
When this is checked, you can add categorization blocks to field tabs in custom layouts. By including the tags and category fragments in form containers, you can also provide metadata to the object entries.
- Enable Comments in Page Builder:
When this is checked, you can use the Page Comments widget in the object entry's display pages.
- Enable Indexed Search:
When this is checked, the object entry will be registered in Liferay's search framework.
- Enable Entry History in Audit Framework:
When this is checked, Liferay will keep the history of object entry events that you can view in the Audit application or using headless APIs.
- Allow Users to Save Entries as Draft:
When this is checked, Users can keep entries as drafts and complete them later. Custom validations, workflow procedures, and custom actions are not triggered by saving drafts. Users have to explicitly change the status of the entry from the workflow itself.

- Enable Entry Translation:
When this is checked, users are allowed to localize their input, you can enable entry translation for custom text fields.

Fields:
To create custom fields, click on the Fields tab. Each field represents a table column that stores a specific kind of value.
By default, all objects contain the following audit fields: Author, Create Date, External Reference Code, ID, Modified Date, and Status.

Relationships:
To add relationships, click on the Relationships tab. Relationships are connections between object definitions that allow you to connect object entries.

Layouts:
To add layouts, click on the Layouts tab. Object layouts control how fields and relationships appear when creating and updating object entries.

Actions:
To add actions, click on the Actions tab. Every action specifies a process that is executed automatically according to a specified trigger. See Automating Workflows with Object Actions

Views:
To add a custom view, click on the Views tab. Object views define how entries are displayed on the object's application page.

Validations:
To add validation, click on the Validations tab. Every validation sets rules to determine valid field entries.

State Manager:
To specify the flow of a state field you've added to the draft, select the State Manager tab.

Once everything is set up click on Publish.
Publishing Objects
What Happens During Publishing:
- A database table will be created for the object based on the data definitions in the draft.
- A new Headless API will be generated automatically for CRUD operations.
- A collection provider will be created to show the objects' entries.
- A page widget will be created for the object.
- The object will be integrated with the Info framework, so you can select it as a content type for a display page template.
- The object will be integrated with the Permissions framework, allowing you to manage permissions for the new application and its resources.
- The object will be integrated with the Workflow framework, allowing you to create a custom workflow for it.
- The object will be integrated with Forms, so you can use it as a data storage option.